
My first Imperial Stout: adventures and lessons in homebrewing
Last week I decided to brew my first Imperial Stout. This came as a fork from my previous home brewing experiments, all of which have been IPAs. If you stick to doing the same you'll never learn, right?
I set about getting some inspiration from the numerous homebrewing books and recipes available in my collection. I settled on a recipe using pale malt & Pilsner malt for the base, combined with roasted barley, brown malt chocolate malt and some flaked oats. For good measure, I also planned some brown sugar and honey additions for the boil.
I once again decided on a 'brew night' rather than the classic brewing through the day. This suits me better as I can brew up straight after working from home, and still have enough time for some fairly decent sleep before getting back up to repeat.
Reaching strike temperature and mashing in
If you've ever brewed your own beer, you'll know how frustrating some of the waiting around can be. This is always definitely the case for me in using an electric hob to mash and boil on, and having gas would be a dream (or maybe a Grainfather). After waiting a good hour for my strike water to get up to desired temperature I was ready to finally mash in.
For this brew I decided to get all my malts from Get 'Er Brewed as they offer a custom recipe kit measuring, packing and delivery service which is an absolute timesaver! I mashed in my entire bag from them in one go with no weighing or measuring required whatsoever. I'll definitely use them again for future homebrews on this scale.
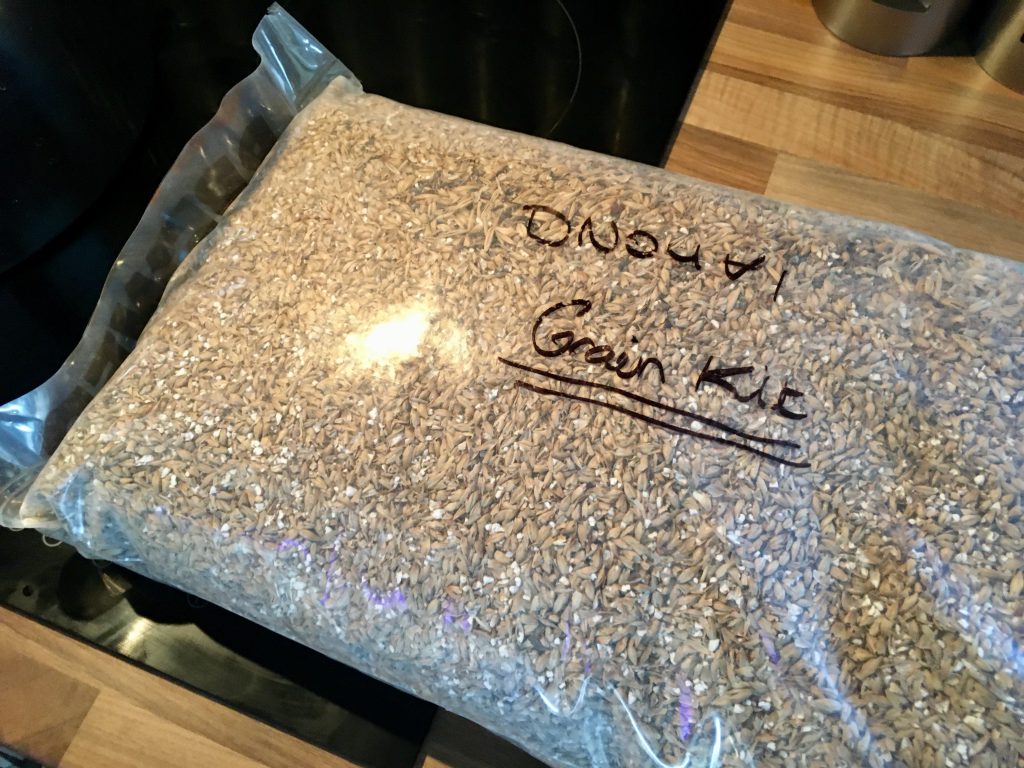
Luckily I hadn't filled the stockpot up too much with water, which was ideal as I managed to get the entire 3kg of malt for my recipe into the pot with just enough space for comfort.
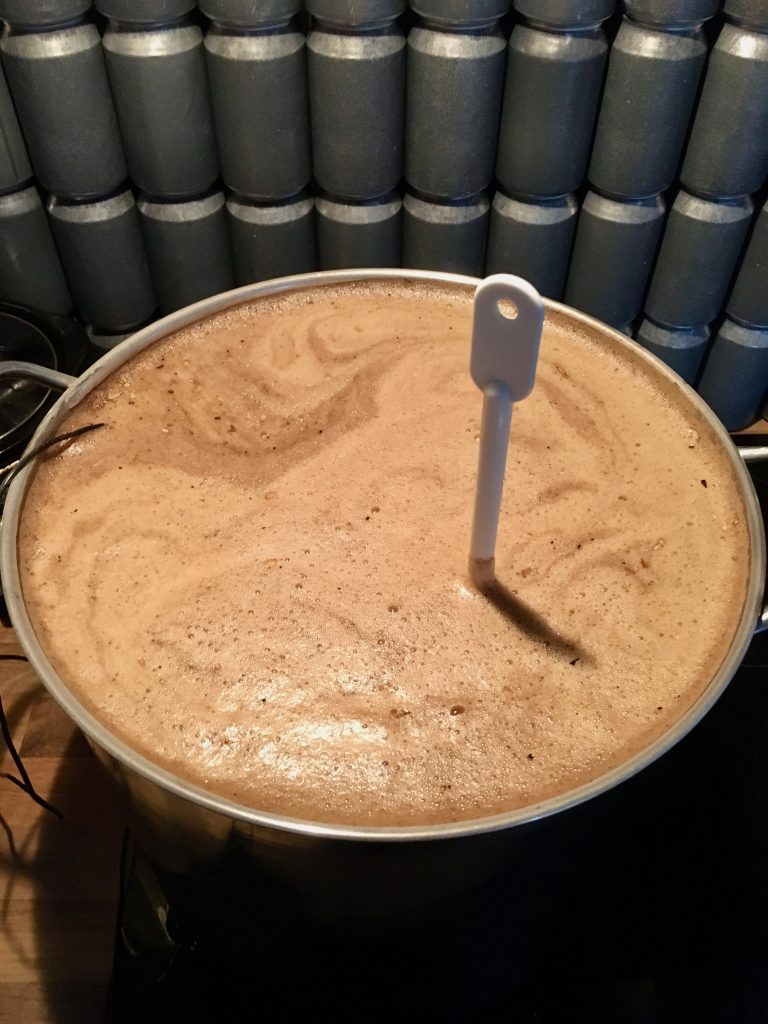
I'd also invested in a proper brewer's paddle for this homebrew (which came with the malt delivery). This was definitely a good idea as trying to stir mash with a large spoon isn't the easiest, and I doubt it would be with a mash as thick as this one!
Sparging and wort recirculation
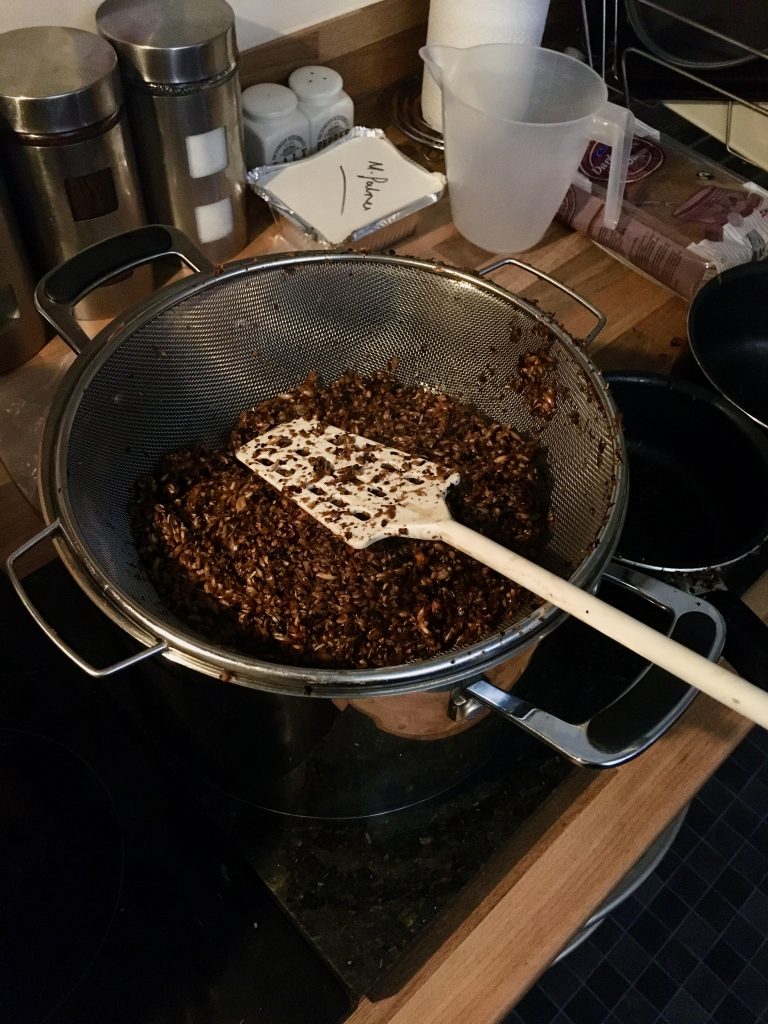
I usually use a mash bag when doing a brew as this saves time when attempting to get the mash out cleanly from the leftover wort. For some reason I can't remember I totally forgot to use one for this brew. After a slight panic of realising I'd now added 3kg of malt with no way to now add the bag, I realised I may not have totally messed up and continued. It was actually a blessing in disguise, as attempting to lift all the mash for this recipe out in one go in a bag may have been impossible solo...
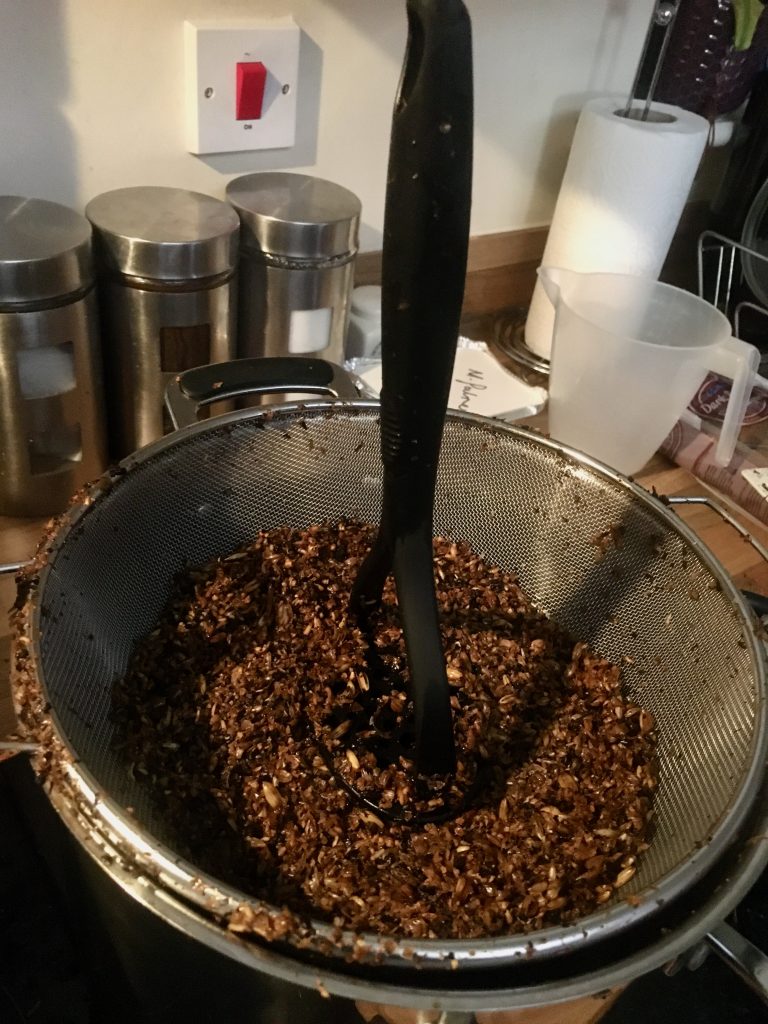
My sparging technique was altered slightly due to this. Using a metal sieve over a large pan, I preceded to extract the mash from the stock pot in small batches using a smaller pan, pouring each batch into the sieve, and squeezing out as much wort as possible using the paddle. Slowly, and with multiple attempts, I had extracted almost all of the mash. The squeezed wort was put back into the stock pot, and the spent grains back into the bag which they originally were delivered. There were still some bits of grain floating about in the stock pot, but I wasn't too concerned at this point.
The boil
Once again I had issues getting my cooker hob up to the desired boil temperatures initially. Finally after putting the stock pot lid on for a bit I managed to achieve a nice rolling boil. I'm sure not using an electric hob would definitely shave a few hours off my brewing sessions...
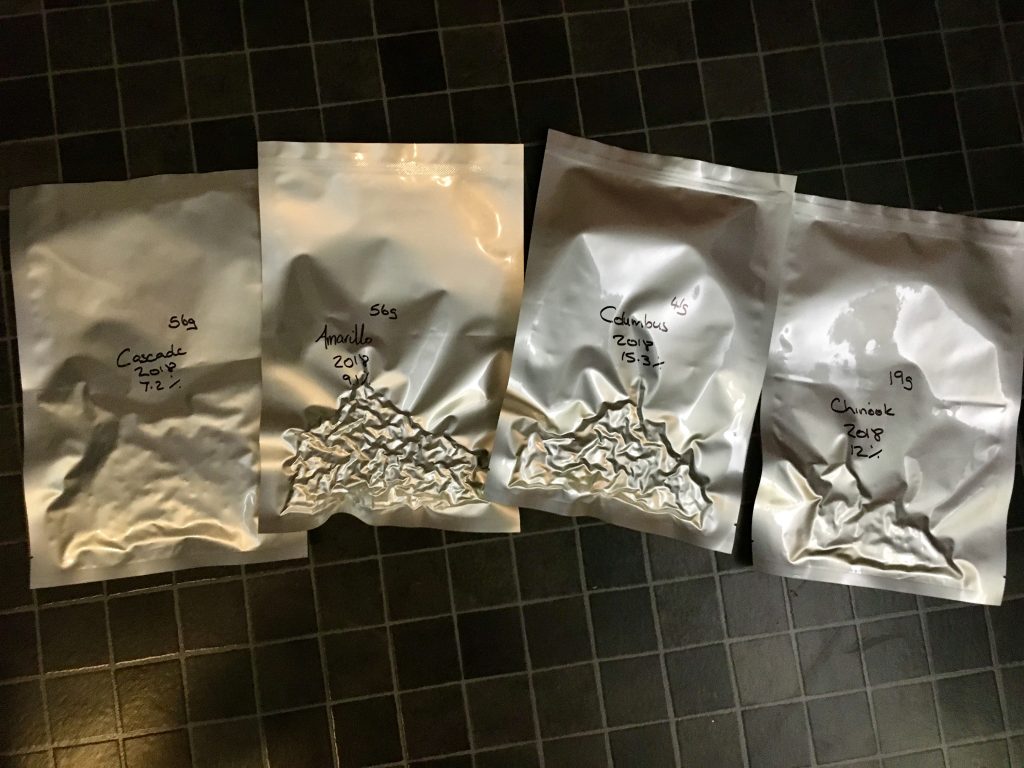
As soon as the boil got going it was in with the first hops. For my recipe it required 19g of Chinook and 41g of Columbus hops. Again, these were from Get 'Er Brewed as part of their recipe kit builder, and again all hop varieties arrived sealed in their own specifically measured vacuum packs. 🙌🏻
The stockpot lid was now partially off, as I didn't want to preserve all the boiled-off wort and water in the pan, and wanted to let it steam off instead. Whilst waiting for the next stage of the boil additions I had time to get the yeast out of the fridge to adjust to room temperature, and also prepare my immersion wort chiller, which is homemade (I might do a separate post on how to make one).
At 15 minutes left on the boil there was another round of hopping (56g of Cascade) as well as a kilo of brown sugar and 250g of honey. This is the first time I've ever added additions to the boil that aren't hops, so we'll see how this turns out...
At this point, I also dropped the immersion wort chiller into the stockpot, mainly so it would self-sanitise whilst boiling. I added hosepipe connectors to both copper ends a few months back which makes it even easier to connect standard hose pipe straight into the kitchen tap mixer, which also has a hose connector on it for brew days. It's probably the best thing I've added to my homebrewing setup that has dramatically decreased time. No more ice baths for my homebrews!
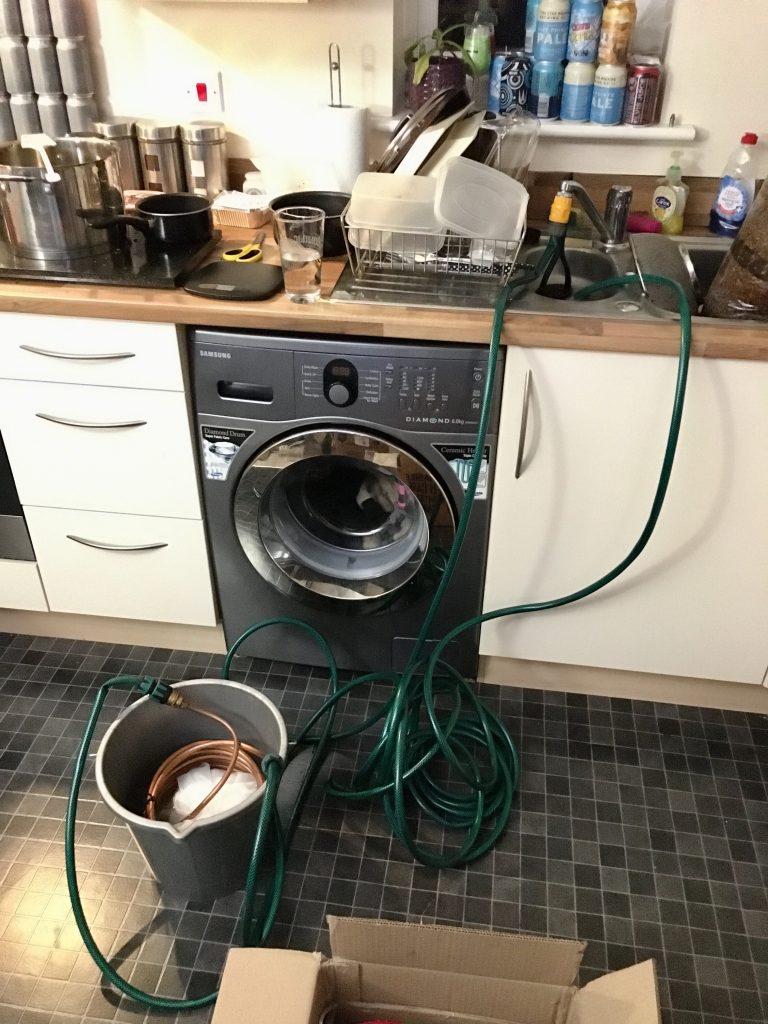
As soon as the boil was done I turned on the kitchen cold tap to get water flowing through the wort chiller. Beware! The first pass of water through the chiller comes out as almost pure steam back into the sink. The hosepipe also felt like it was melting slightly, but after around five minutes of water flowing through all was fine. Every now and again I was stirring the wort to assist with the cooling. Within around 20 minutes I'd got the wort down from almost boiling to just less than 20ºC - perfect yeast pitching temperature. Cooling was now complete, so it was time to turn off the water, take out the wort chiller and get ready for adding the yeast.
Pitching the yeast
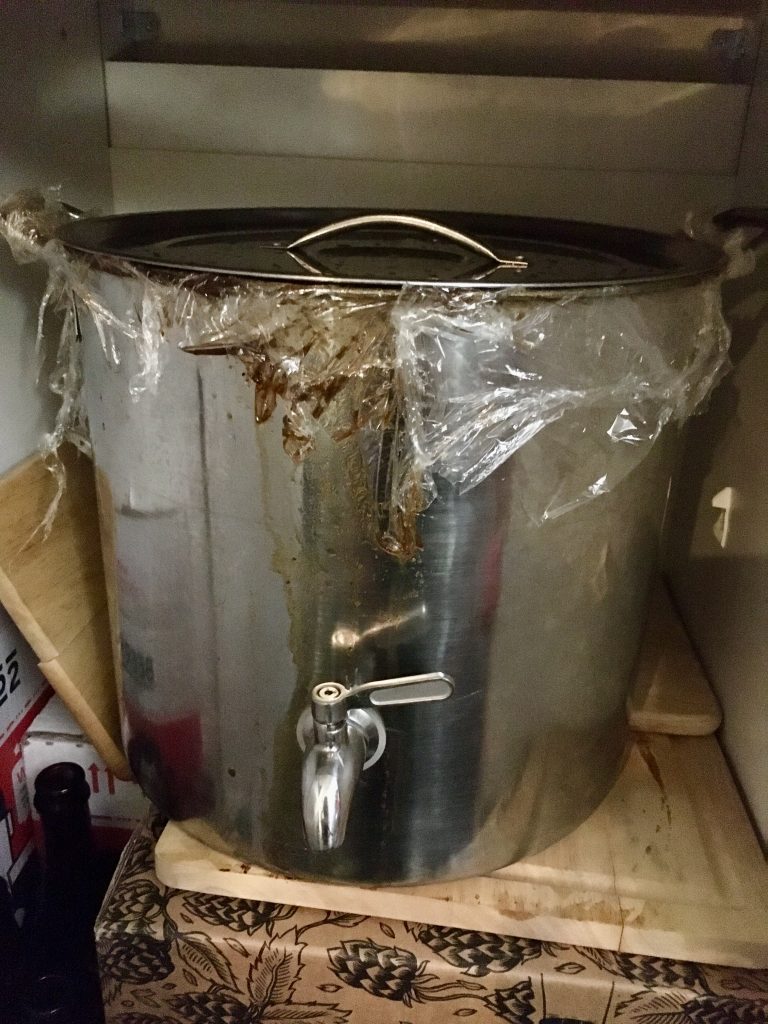
I decided to ferment directly in my stockpot again, as last time I did this the results were fine. I pitched in a whole packet of Mangrove Jack's M42 New World Strong Ale yeast. I then dropped in my Tilt Hydrometer (yet another useful tool I've added to the brew cycle), added clingfilm over the stockpot, and then gently shook it to aerate. Ensuring the top was fully covered I put the stockpot lid on to keep the clingfilm held down, and then put the stockpot into my brew cupboard, which is simply a spare kitchen cupboard.
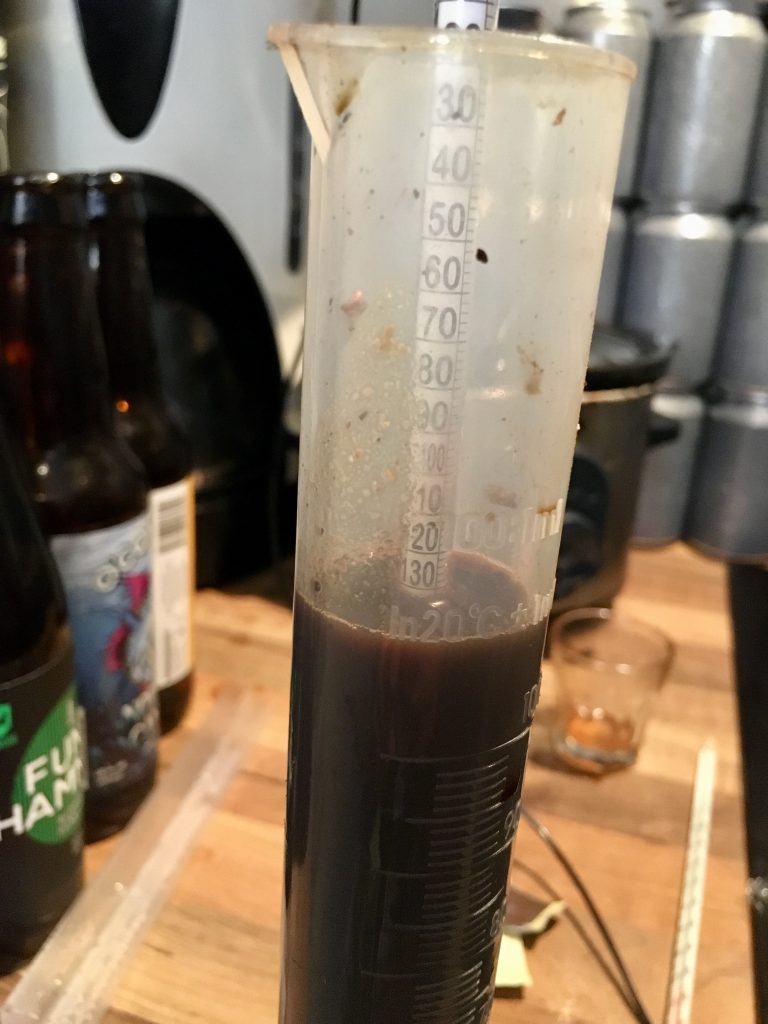
Job done! My first imperial stout brew day is complete. I took a quick hydrometer reading (which matched perfectly with the Tilt) and it came out to 1.134 - a ridiculous reading! I'm expecting this to be a hefty ABV beast of a beer! I had a little taste... It was very sweet! It also had a very subtle smoky aftertaste. I'm hoping the sweetness will subside a little by the time it's ready to drink. The colour was perfect, however! 👌🏻
This will become the first version of my Do Not Open Until... series - a beer very similar to BrewDog's Born To Die, but the opposite. The idea will be to age in bottles for six months, and then open any time after this. I'll also package some into bottles to open before this, and then hopefully compare the two.
I'll keep updating this post on the progress of this homebrew - from bottling, first tasting, and then second tasting in six months. Fingers crossed it has gone to plan... 🤞🏻